1. Mobile robot
In this chapter we will create a mobile robot model and simulate it with gazebo. create a package called mobile_car_description:
catkin_create_pkg mobile_car_description geometry_msgs urdf rviz xacro

cd mobile_car_description

mkdir launch urdf meshes rviz scripts
The robot that we will use is shown in the following images. It is bought from taobao.com.
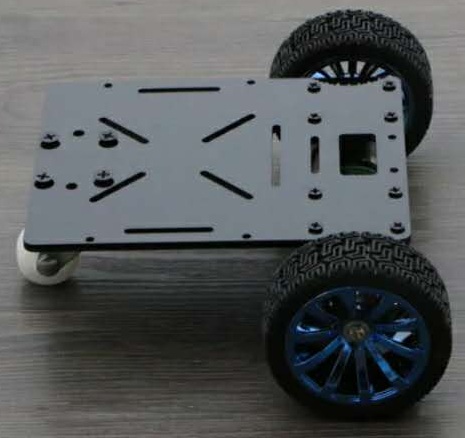
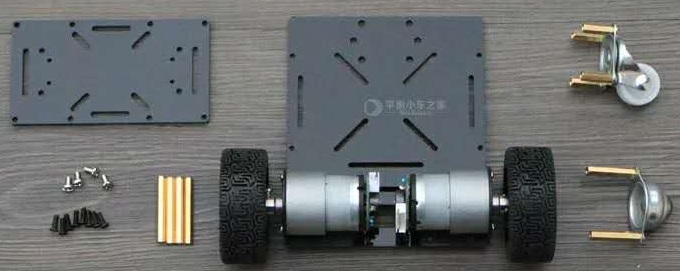
- The mobile robot or small car, have:
- 2x dc motors with quadrature encoders
- 2x Wheels
- 1x castor wheel
- 2x plates
1.1. Preparation
Writing urdf or xacro file is time consuming. For this reason we will define different folders and files.
mkdir motor wheel laser chassis wheel_castor
Every folder will contain macro definition and test xacro files. If the macro definition is long, it will contain a folder called steps where every step of the model creation is saved.
In the urdf directory we will create a file called define.xacro where we define constants, colors and any thing else in order to avoid code duplication.
We will create also a config.xacro file where we will put the mechanical dimensions of the robot.
Different script will be written to speed up the testing.
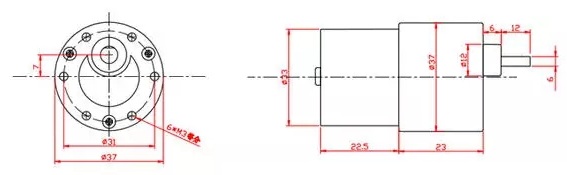
1.2. Motors
As exercise we can write the model of the motor where mechanical dimensions are shown in the following image:
The final model will be like this:
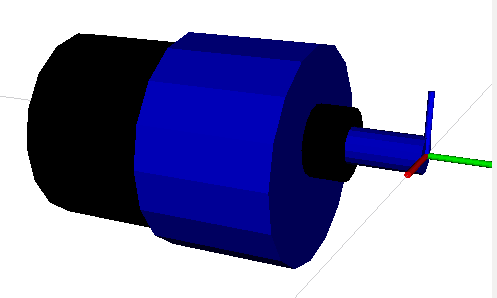
We will not discuss the creation of this model because we will not use it. It is better to import a mesh file of the motor.
Download motor.xacro
1.3. Wheels
1.4. Body
Mechanical dimensions are shown in the following image:
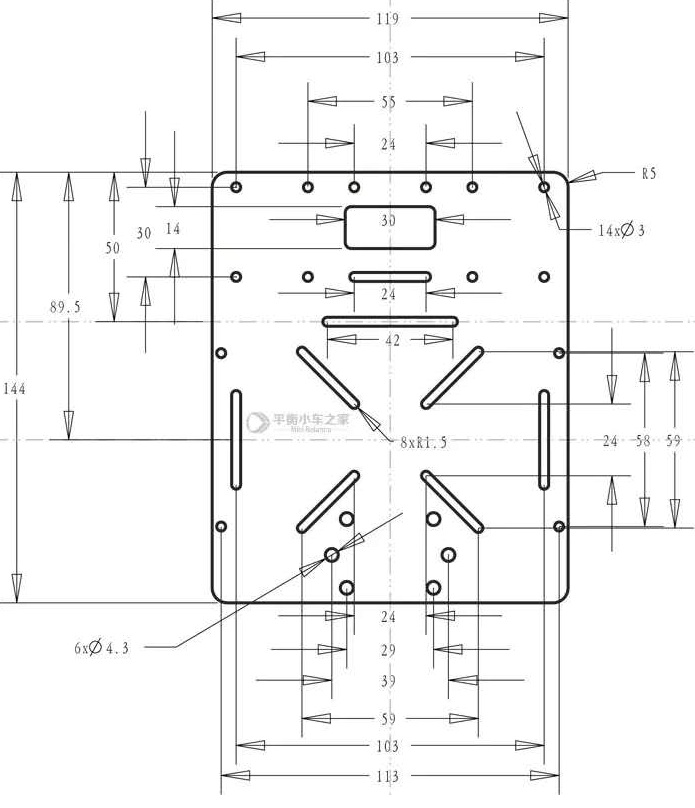
So mainly the body is a box. We will define also 2 brackets where the wheels are mounted.
1.5. Complete robot
In the following code we see how to include the definition files of the mobile robot components. And the how we call the macros to define those components.
<?xml version="1.0"?>
<robot name="mobile_robot"
  xmlns:xacro="http://www.ros.org/wiki/xacro">

  <!-- ================================================================================================================= -->
  <!-- INCLUDE FILES -->
  <xacro:include filename="$(find mobile_car_description)/urdf/define.xacro" />
  <xacro:include filename="$(find mobile_car_description)/urdf/config.xacro" />

  <xacro:include filename="$(find mobile_car_description)/urdf/wheel/wheel.xacro" />
  <xacro:include filename="$(find mobile_car_description)/urdf/wheel_castor/wheel_castor.xacro" />
  <xacro:include filename="$(find mobile_car_description)/urdf/chassis/chassis.xacro" />

  <!-- ================================================================================================================= -->
  <!-- BASE-LINK -->
  <link name="base_link">
  </link>

  <!-- ================================================================================================================= -->
  <!-- Body -->
  <chassis name="body" parent="base_link" length="${base_length}" width="${base_width}" height="${base_height}" x="0" y="0" z="0" mass="${base_mass}"/>

  <!-- ================================================================================================================= -->
  <!-- Wheels -->
  <wheel name="left" parent="body_link" radius="${wheel_radius}" height="${wheel_height}" x="${wheel_x}" y="${wheel_y}" z="${wheel_z}" mass="${wheel_mass}"/>
  <wheel name="right" parent="body_link" radius="${wheel_radius}" height="${wheel_height}" x="${wheel_x}" y="${-wheel_y}" z="${wheel_z}" mass="${wheel_mass}"/>

  <wheel_castor name="front" parent="body_link" radius="${caster_radius}" x="${caster_x}" y="${caster_y}" z="${caster_z}" mass="${caster_mass}"/>

</robot>
Dividing the model creation in different files make it easier to debug any error.
Open the robot with rviz:
roslaunch mobile_car_description display.launch model:='$(find mobile_car_description)/urdf/mobile_robot.xacro'